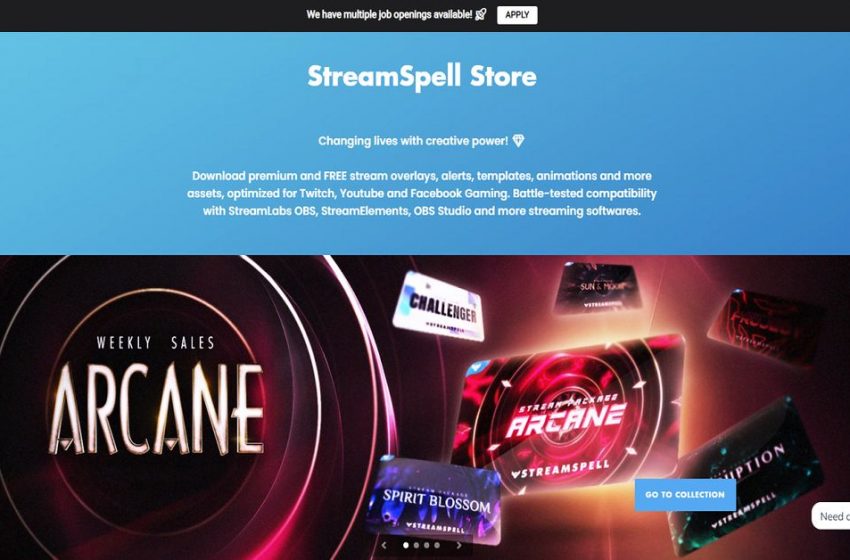
StreamSpell

Live streaming of video games could transform a hobby into a lucrative career. Professional streamers combine skilled gaming and entertaining reviews with earning income from sponsors, ads, and subscriptions. But they need a good design background or overlays to make streaming more appealing. Luckily, there are several places that they can go to obtain easy-to-install overlays. For streamers who want to achieve their career goals, StreamSpell is a helpful resource.
What Does StreamSpell Do?
StreamSpell is an international design group for streamers and content creators. It was established four years ago by Daniel Mayhe out of his hobby as a streamer. The idea of graphic design as an excellent way to improve the quality of content motivated Daniel to explore the community of experts who helped him grow the company.
The agency has been working since 2017 to deliver quality designs for creators. A team of 30 artists specializes in different areas, including graphic design, motion, illustration, and programming.
StreamSpell takes pride as an Equal Opportunity Employer that trusts that diverse backgrounds and outlooks are the critical elements for creativity. The team and their clients openly discuss their life experiences and design revision. These exchanges resulted in a strong bond within the StreamSpell community.
Below are the services offered by StreamSpell:
- Steam Packages
- Animations
- Logo Design
- Overlays
- Steam Screens
- Emotes and Badges
Frequently Asked Questions
For the setup guide, refer to the following:
Streamlabs Installation Guide
How can I install the overlays on Streamlabs?
First of all, see to it that your streaming software is ready. Then, log in to your Streamlabs and follow the steps below.
- Open the Streamlabs OBS and click on Settings at the tiny cogwheel icon on the left.
- Click on Scene Collections and Import on Overlay File.
- Choose the .overlay file of the package you purchase, which is located inside the Tutorials folder.
- Now, you can click on the Social Media Scene to edit the usernames for your social platforms.
- Next, open the folder on the Sources column, double click your desired platform and change the text.
How can I install the alerts on Streamlabs?
To install the alerts, follow the steps below:
- Double click the Streamlabs Alerts Setup file and log in with your account.
- Select your Scene Collection, which is usually the one with the name of the package you just bought.
- After that, Click on ‘Copy’ to copy your widget URL and scroll down to click on ‘Save.’
- Back to Streamlabs OBS, create a new Browser Source and paste the URL you just copied. You might want to name this source ‘Alert Box.’
OBS.Studio Installation Guide
OBS Overlay Quick Installation Guide
Refer to the detailed instructions here.
How can I install an overlay in OBS.Studio manually?
The 7-step guide is located here.
How can I install the alerts on OBS.Studio?
- Go to the stream package folder you bought at StreamSpell Store, open the “Tutorials’ folder, and double click the “Animated_alerts_setup” web file.
- Once “Create a New Widget Theme” appears, click on it, name the stream package you are using and select the “Create” button.
- Hit the “Use” button next to the option you just created. It will open a page where you will only have to copy the URL code of the alerts on the “copy” button on the right side of your screen.
How can I install the overlay in Lightstream Studio?
Visit this page for detailed instructions.
How to add stream labels in OBS Studio?
To add steam labels in OBS Studio, click here.


